I am so freaking excited about this fort we built! I think I may love it more than the kids (who love it a whole lot!). If you keep scrolling, there are lots and lots of pictures. But first, how this came about….
So, as per usual in our home, I had an Idea. My husband gave me “The Look”. He said I didn’t have a plan (true), I said he had no sense of adventure (partially true). I continued talking about The Idea for weeks. I listed all the pros, he listed all the cons. I begged. I badgered. He finally gave in…and got just as excited as me.
The Idea? Make our very own playhouse/fort, somewhat “organic” (read, I don’t like to make actual plans, I like to wing it), use reclaimed wood, make it more “open ended”, some climbing things, let the kids help. Perfect, I argued for our kiddos and our lifestyle, but also key was that we have an odd space/size to work with, hence the needing to build our own. And frankly, I didn’t like the look of the store bought ones. And I wanted the kids to help and really do it ourselves. Big bonus, I knew it would drive my husband crazy.
Day 1:
First of many, many, many trips to Lowe’s! Husband got a new tool (tamper)…confession: getting a new tool is often how I convince him to do my crazy projects. 🙂 Not pictured here are the six giant 4×4 fence posts. Those were a B to get from the truck to the yard.
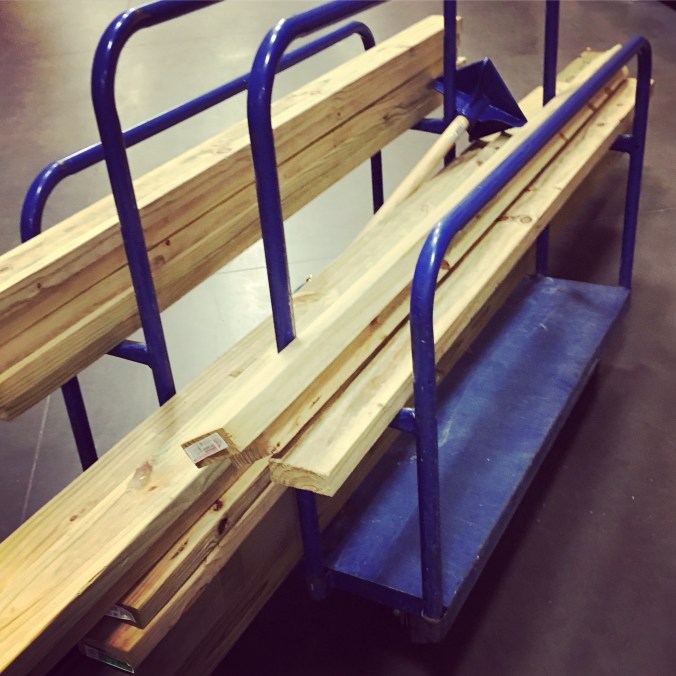
supplies!
And this is the Before…
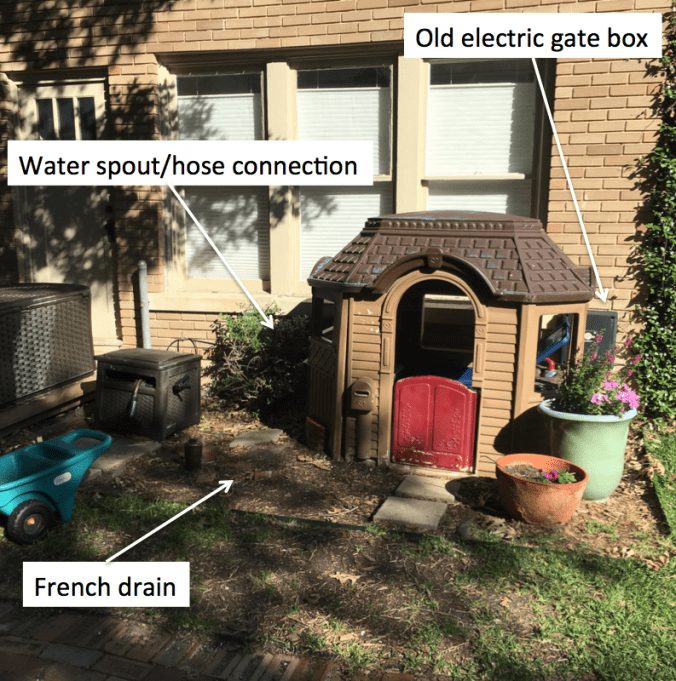
The Before
See the odd space? Otherwise, we have nice landscaping and old brick paths and trees in our not-big backyard, so this is really the only spot for a kids’ play area. We wanted to ideally hide the old gate box, which was useless, but we needed to not cover the french drain and also needed to keep a decently clear path to the water spout. And lets be honest, that little plastic playhouse has seen better days and wasn’t going to hold on much longer for my three crazies. What you can’t see here is that the ground is super uneven and lumpy (from a pipe replacement two years ago). So first part of the project was honestly the worst – leveling out that ground. Digging and moving dirt and tamping. Ugh!
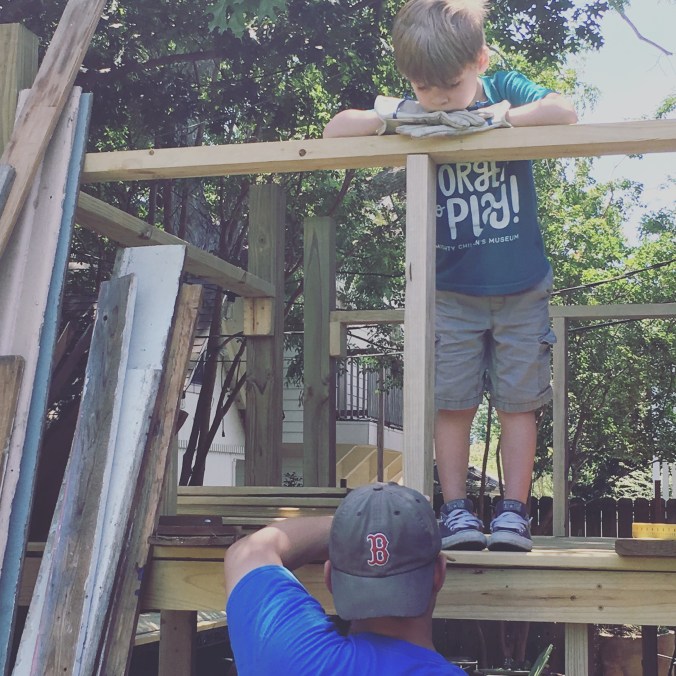
So day 1 was mostly leveling out the ground, sinking in our posts, and getting the basic frame up. Of course, we had to change our original “design” (if you can call “winging it” a design). Ending up, we needed one more fence post. *sigh* Overall, felt like a lot of progress, we could already see the shape of our fort!
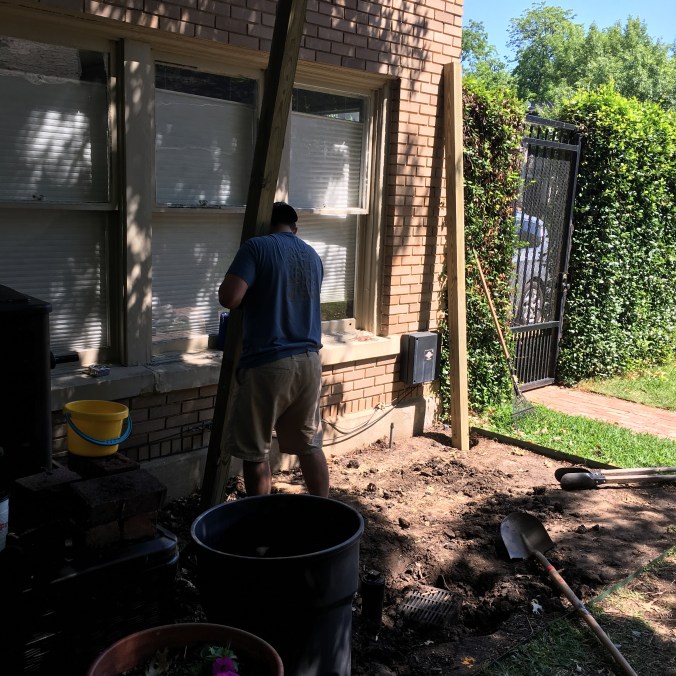
sinking posts
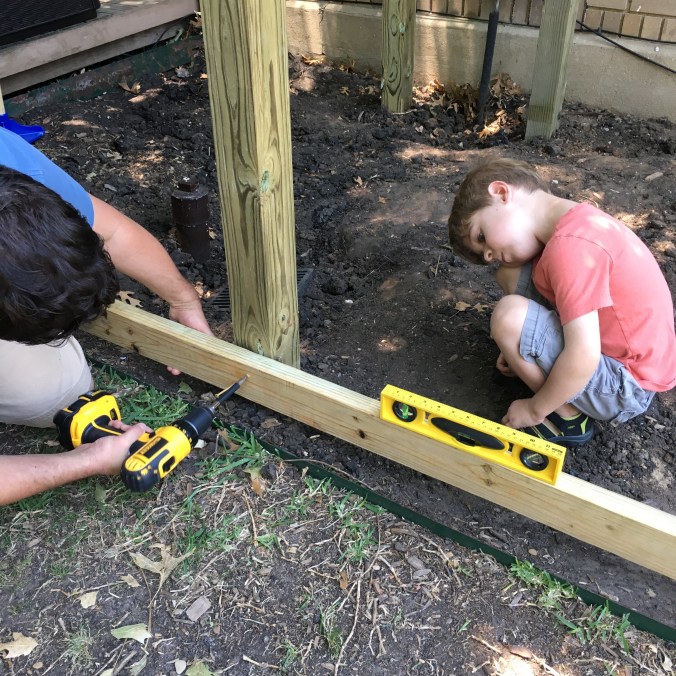
learning to level
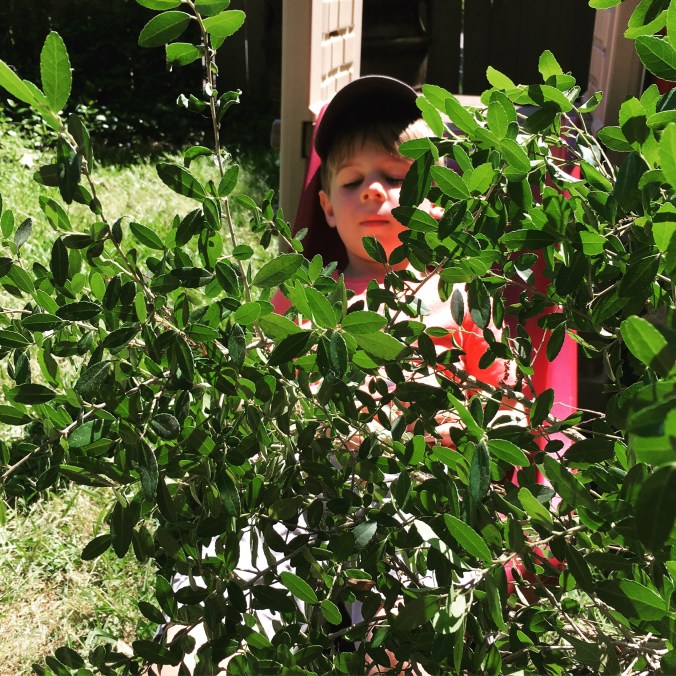
He needed a little rest – Spicey style! bwhaha!

Day 1 – DONE!

Momma & Burke – adding moral support!
Day 2:
More hard work. Lots of new wood purchased, sixth fence post sunk, loft/ upper floor put down, including the space for the “trap door”, and Momma scavenged a lot of old, mismatched, character-filled wood, which, of course, I didn’t capture on film, but you’ll see it later, installed…
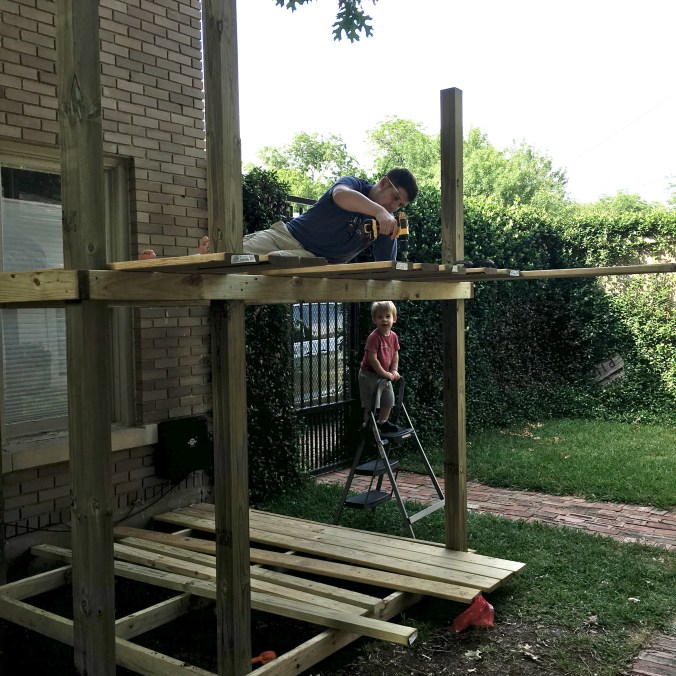
loft floor goes in

“Burkie up! Burkie up!”
Day 3 & 4:
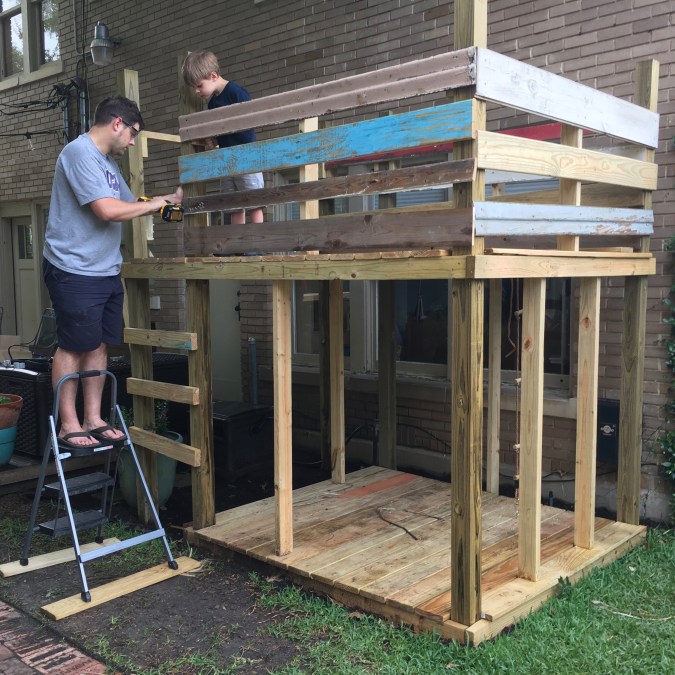
We start to see real progress! Probably the biggest pain was was cutting and laying that weed barrier stuff (which is why we hadn’t installed the bottom floor yet) and then laying a thick layer of mulch over it all. We were then able to put down the bottom flooring (and then trim off all the excess, up and down). We also put in all of the studs, both as support, especially on the top, and where we wanted our windows and doors. Then we screwed in a few 2×4’s to act as a ladder up the front, on the outside. We left off the bottom rung to discourage our youngest little wild one from climbing up top just yet (we shall see how long that lasts).
To humor me, despite it being late on a Sunday, my husband put up the first few reclaimed wood boards as our railing up top. This was so exciting for me, as all the new wood really had me upset, it was NOT looking how I had envisioned it. But seeing those four mismatched, crooked boards seriously made me giddy!
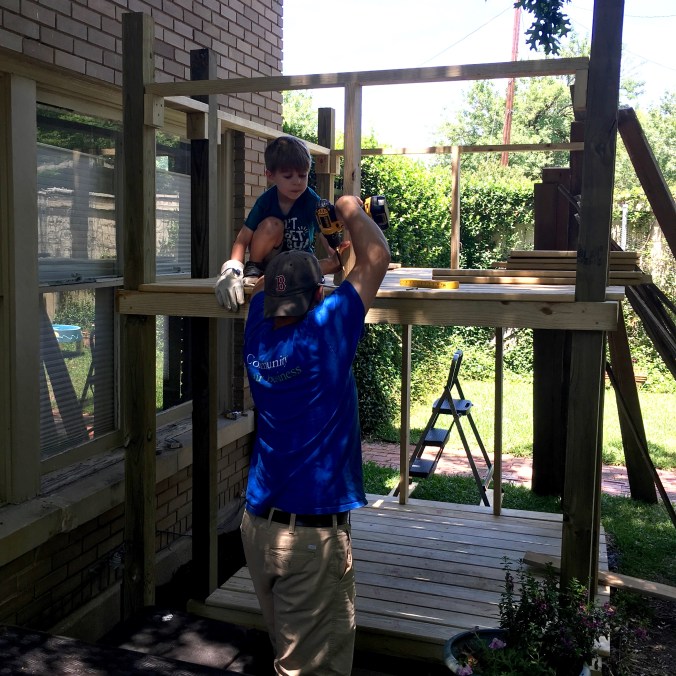
stud time!
my fav picture – helping dad

the first side goes up!
Day 5 & 6:
This is all the fun stuff, for me anyway. Laying out all the old boards, moving them around, playing with size and texture and color. And then measuring and cutting and installing. Also fun because we didn’t want it to be exact, so we made some a little crooked, the gaps are various sizes, etc. We can really see what it’s going to look like now. Oh, and the rope ladder arrived, so that got installed (took way longer than we anticipated, needed to move some of the knots and make some adjustments). When the kids are older and less likely to accidentally hang themselves, we will make it so you can pull the ladder up and actually put on a “trap door”. For now, it’s attached at the bottom for both safety, and easier climbing. Best part, we got the first bottom wall installed! Henry continued to truly be a big help for Dad…mostly handing him screws and holding things.
2nd and 3rd side railings go up
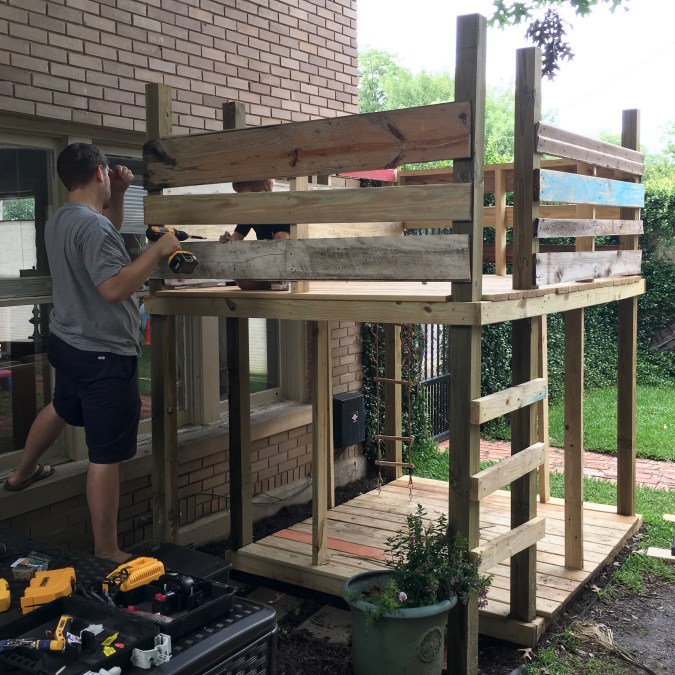
top done!
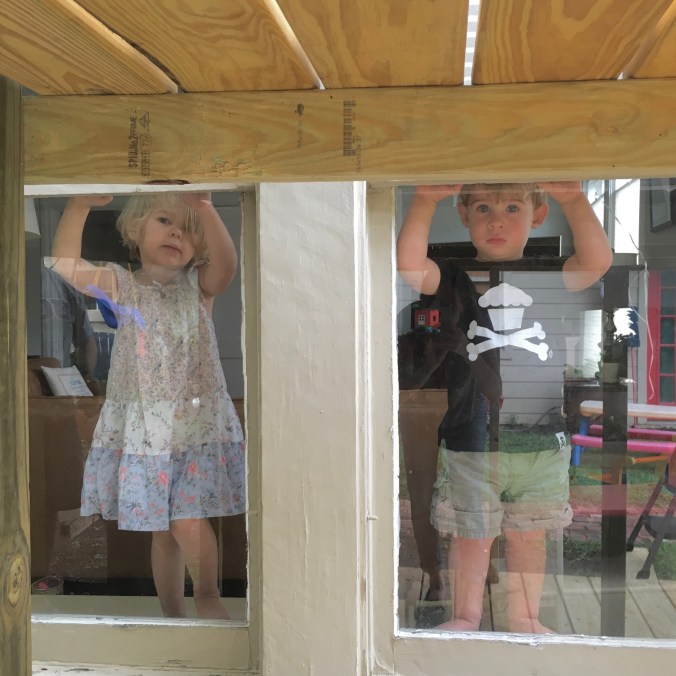
Mary & Burke oversee construction from inside! They are about to lose their view…
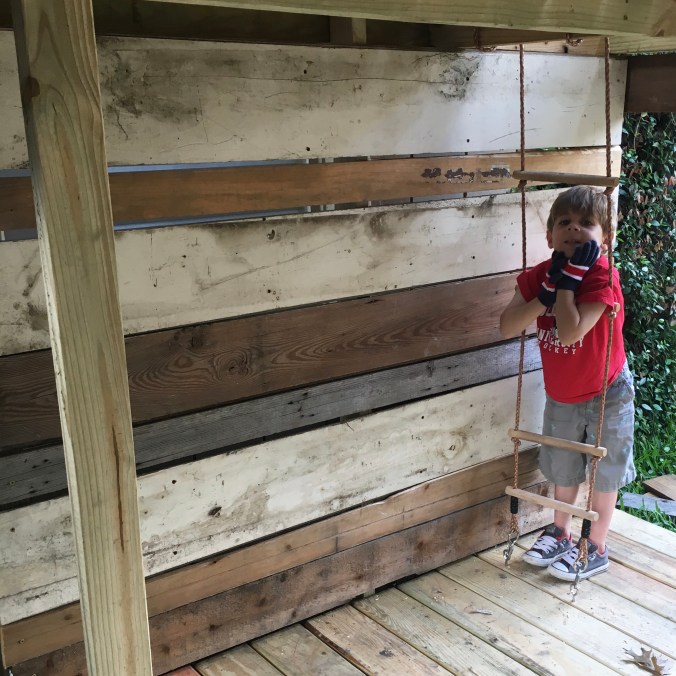
First full bottom wall (and you can see the rope ladder)
Day 6:
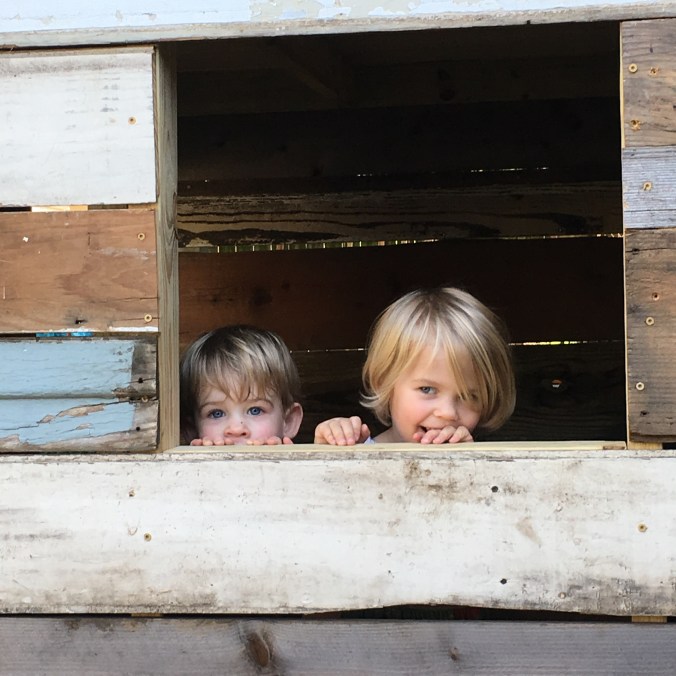
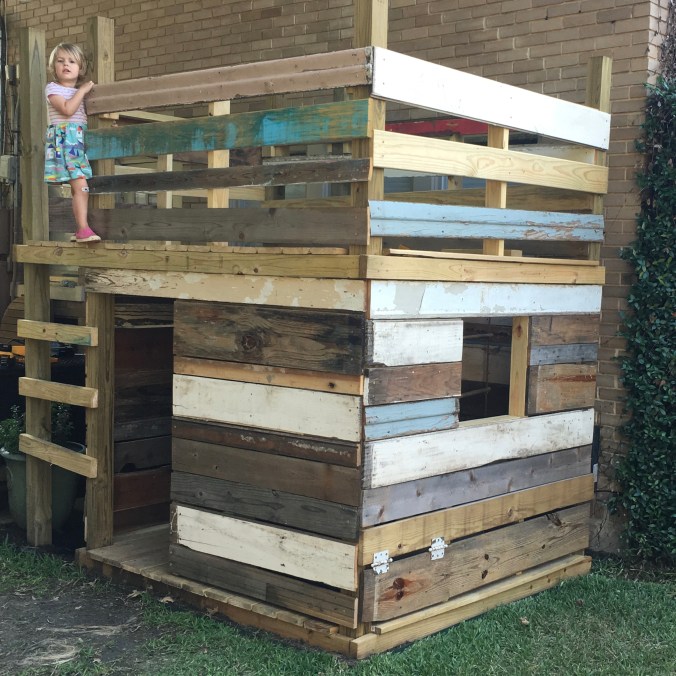
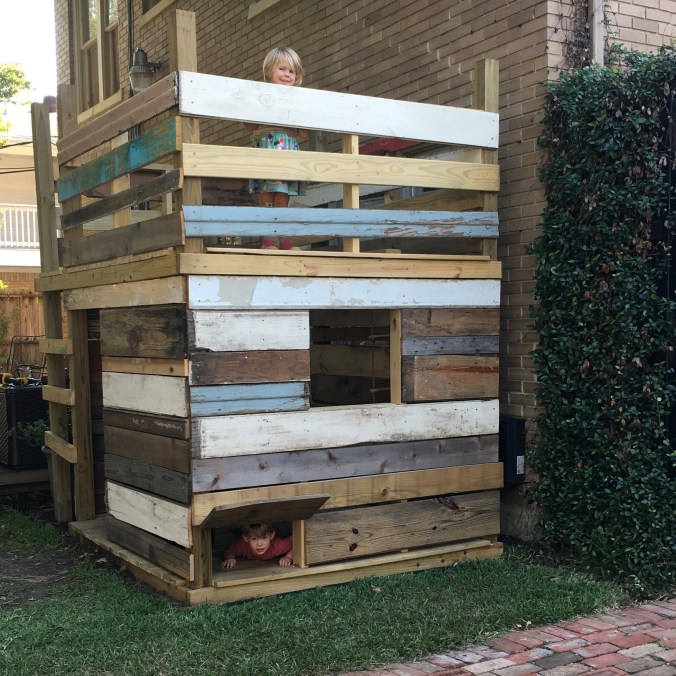
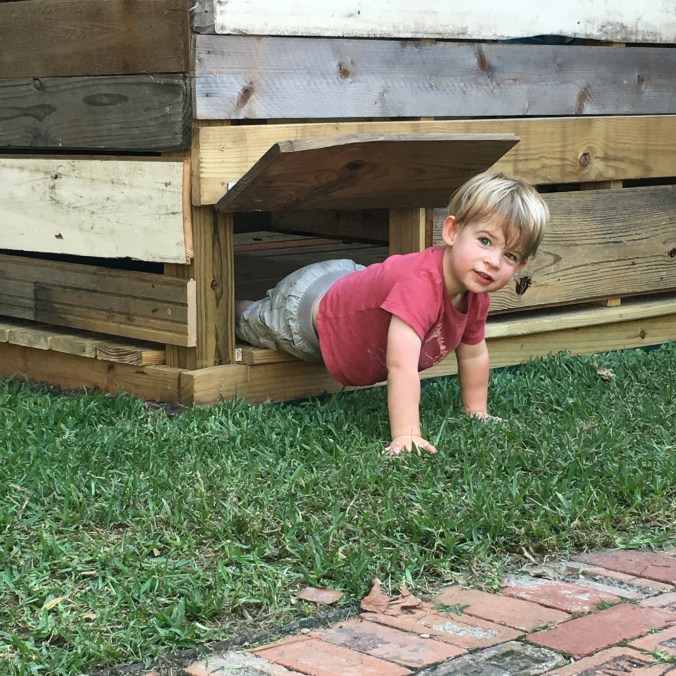
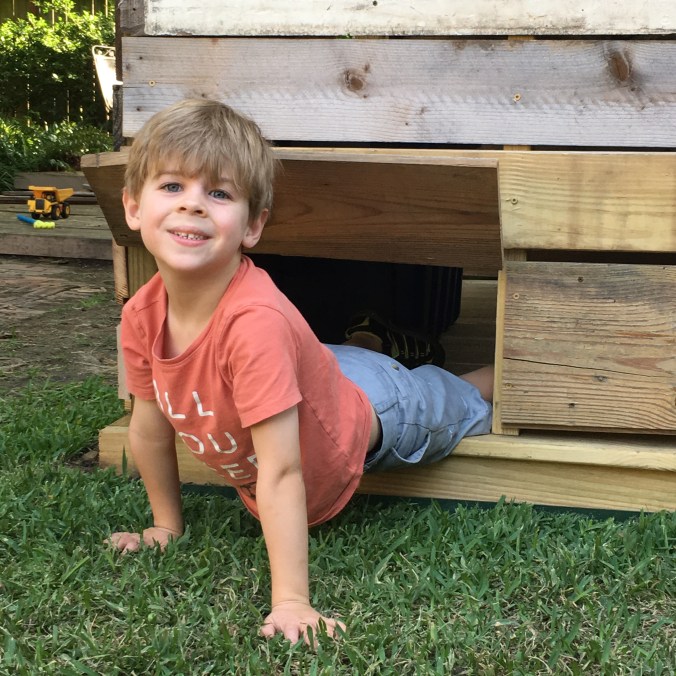
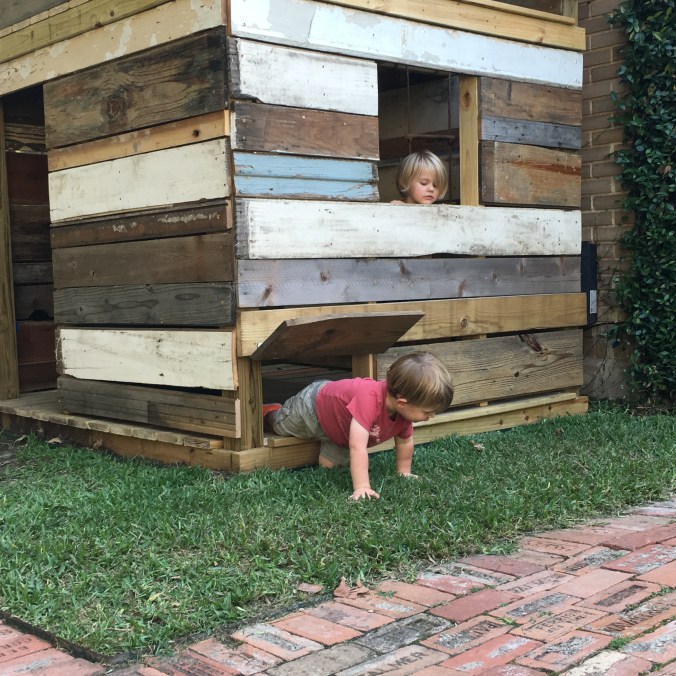
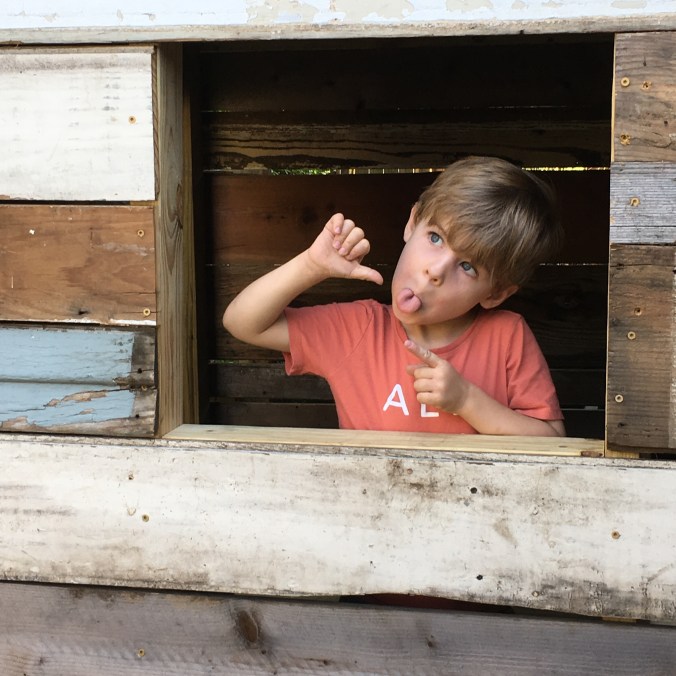
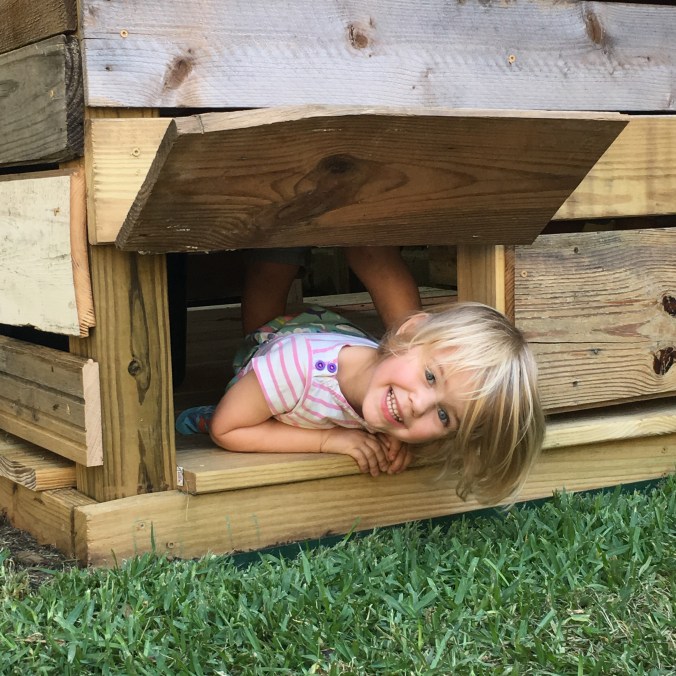
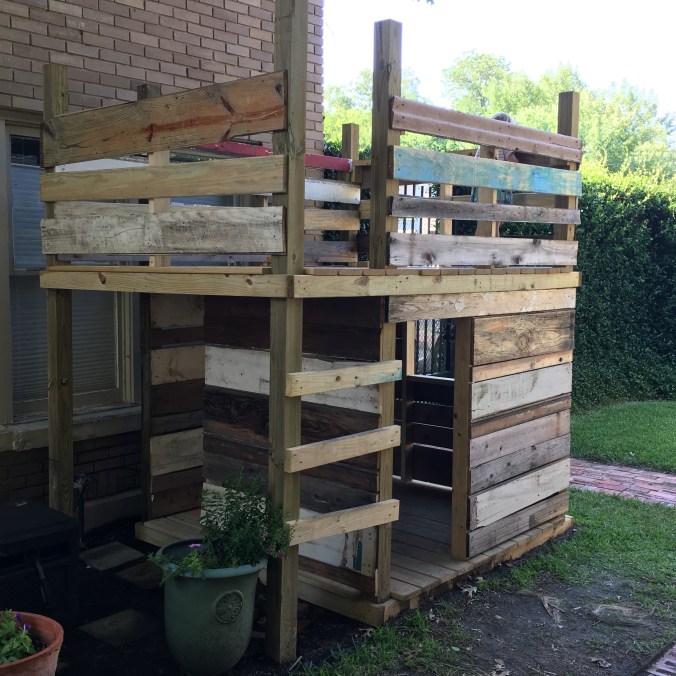
The end! We got all the rest of the walls up and, again, this was so fun for me to lay out the old wood, looking for cool knots for “spy holes” and such! Window looks great and my husband even had the cutest idea for a little “secret escape hatch” (which I think is the kids’ fav). Right now, we have two openings for doors – we are debating making doors or half doors or maybe hanging a curtain or who knows. The kids absolutely love it and we got to have some friends over to play (of course, I didn’t take pics) – it was a huge hit!
So here are a million pics of the finished product…

Things we learned…
A compromise between our two styles is probably best. Totally winging it would have resulted in even more trips to Lowe’s…and probably a very wobbly fort. But the organic outside is really what makes this place and having the kids help and not worrying about things being perfect made it way more fun. Check old wood for nails before falling in love…because pulling nails or trying to pound them out is a real pain in the tush. Ask neighbors for scrap wood…we got about half of this for free! (The rest came from a salvage yard, still pretty cheap). Self-drilling screws are amazing! Buy lots and lots of screws and have a backup drill battery charging…nothing worse than running out of screws or battery mid-way. And frankly, have fun. It’s a kids’ fort. It isn’t supposed to be perfect or last for generations. But we sure are enjoying it now!

Pingback: The Fort’s Newest Addition | Common Hours